Sydney Affordable Roofing Services is the leading roof maintenance company in the world, offering high-quality roof restoration services to Sydney occupants and even to some neighboring countries with over a decade of experience. The company’s restoration process includes cleaning, re-pointing, and primer and topcoat painting while ensuring your roof looks sparkling and protects your home against inclement weather. Read further to learn about the comprehensive roof restoration process for restoring the roof to its best.
The Roof Restoration Process

It is worthy to note that there are three main steps when complete roof restoration is mentioned anywhere in the world. Pressure cleaning the roof, which also involves minor tile, flashing, and gutter repairs, is the first step. Painting the roof is the next step, and finally repointing and rebedding the roof’s ridges.
Our guidelines state that the finished product should have a new-looking roof that is symmetrical, which will give your home a new look. Below are the various steps that are used at Sydney Affordable Roofing Services in roof restoration jobs.
1. Roof Inspection
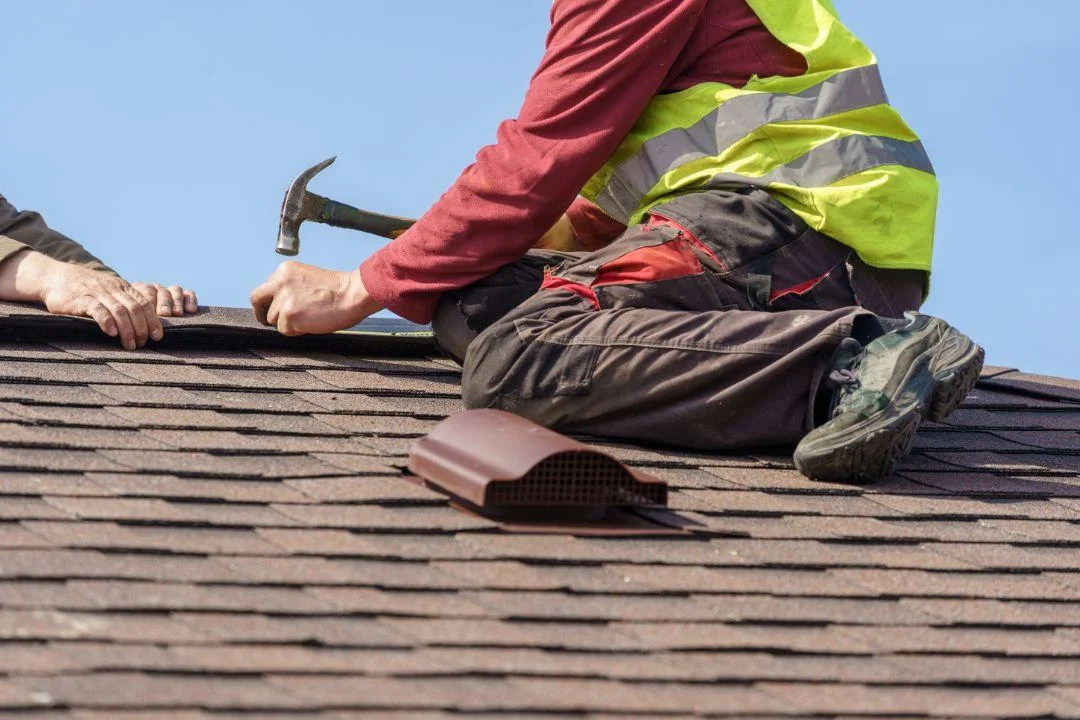
In any roofing project, the first and most important thing to do is carry out a thorough and careful inspection of the roof. The skilled roofers will climb on the roof to examine the condition of the tiles, ridge caps, flashing, and other components to look for things that could pose danger to the health of the roof.
Pictures and paperwork are necessary to ensure that everyone agrees before any work can start, because we don’t believe in bidding for work that doesn’t need to be done. There is no pressure to continue once the inspection is finished, and there is also no commitment to do so. Your day won’t be significantly disrupted, and we won’t need to enter the house unless there are more pressing roof problems, such as leaks, to inspect.
2. Roof Repair
After inspecting the roof, the scope of the work becomes clearer and easier to attend to within a specific time. You can now start your repairs by replacing broken or cracked tiles with good recycled tiles.
We also remove any obstructions from the gutters and valleys, and if any further repairs are required, like patching leaks in the roof or resealing the flashing, we will take care of these as well. Since so many things may go wrong with a roofing system and it just takes a single broken tile or tiny hole that can seriously harm your house, we must do a very thorough examination.
3. Roof Pressure Cleaning
At this point, the roof is ready to be washed with a special pressure cleaner (high) since we are done with roof repairs. We make use of equipment that can produce about 4000 psi to help remove moss and lichen and return each tile to as near its original state as possible.
Cleaning the roof is a necessary phase in the procedure, and it must be done consistently to guarantee that every tile is cleaned correctly. Lichen is frequently found on terracotta roof tiles, for instance. Because the front edge of the tiles is typically more porous and more likely to generate moss growth, we like to clean the tile faces first, then move on to the front edge.
The best cleaning method will be carefully considered based on the condition of the tiles. For instance, we must take extra care not to cause further damage with the pressure cleaner if the tiles are extremely old and brittle, as excessive force may cause the edges to curl up. Excessive pressure may even cause the tiles to come loose.
But generally speaking, cleaning the roof entails clearing away extra dirt that has adhered to the tiles. We frequently observe lichen, dirt, mold, and algae accumulations that are difficult to get rid of with standard washing. To eliminate as many of these impurities as possible before priming the roof, we will also use an antifungal solution following the cleaning. It is typical for the roof to appear rather bare and spotty after multiple rinses. The outcome will be very different.
4. Rebeding & Repointing
If you must enjoy the needed longevity after repairs and cleansing, then capping must be rebedded. This becomes important when the mortar that holds the ridge caps in place has broken or cracked and isn’t doing so securely. After replacing the bed with new mortar and removing the ridge caps, we reposition the ridge caps.
We use a flexible pointing compound to reset the ridge caps to the roof; this type of material is sturdy while still permitting the roof’s natural movement. All we need is for the ridge caps that were resealed to dry and solidify. To ensure that the roof lines are sharp and your home looks fantastic, we advise hiring a skilled roofer to complete this task.
5. Priming Roof
Your roof is prepared to begin painting once it has been pressure cleaned and allowed to dry. A roof primer’s function is to create an adhesive connection between the top coat and the tiles. A proper primer will improve the tile’s adhesion to the topcoat, shield it from corrosion, and produce a stunning finish.
Different primers are required for different kinds of tiles. Terracotta tiles, for instance, require a heavier primer to penetrate them since they are far more porous than metal roofs. If a primer is applied properly, it can make the difference between a roof that looks brand new for ten years or more and one whose color fades much sooner.
6. Painting the Roof

Coating the roof, which is mostly referred to as painting, is the last step in the roof restoration process. Know this: to thicken the roof and create a water-resistant seal, a strong base coat is applied first. To improve the roof’s appearance, we applied a rich top coat once it had sufficiently dried.
This last application gives the tiles color and UV protection. You may be sure that your roof is free of dangerous chemicals because we only use nontoxic, eco-friendly coatings. After everything is finished, your home will appear brand new and safeguard you for the ensuing ten to twenty years. What are you waiting for? Contact us for your home, office, or factory roof restoration jobs, and you will get the services from us.

